Portrait or full body? Choose framing and aspect ratio before generating
Separate portrait framing from image shape, choose among 3:4, 2:3 and 1:1, and leave room for hands, feet and the crop you will need later.
At a glance
- Framing decides how much of the person appears; aspect ratio describes the image shape.
- Choose the ratio for the set, then give each photo a clear framing instruction.
- Check the downloaded dimensions before cropping or planning a print.
Framing and aspect ratio answer different questions. Framing describes how much of the person you want to see. Aspect ratio describes the image's width compared with its height. A portrait-shaped image can contain a close view of a face, a seated figure or a complete standing person.
Decide what the photo needs to show first. Then choose an image shape that gives it enough room. This is more useful than selecting a tall rectangle and assuming it will produce a full-body portrait automatically.
Choose the framing for the photo's purpose
For a private keepsake, an expression may matter more than the setting. For an outfit portrait, the length of the dress and its silhouette may be essential. Those two photos should not ask for the same composition.
| Framing | Useful when you want to see | What to check in the result |
|---|---|---|
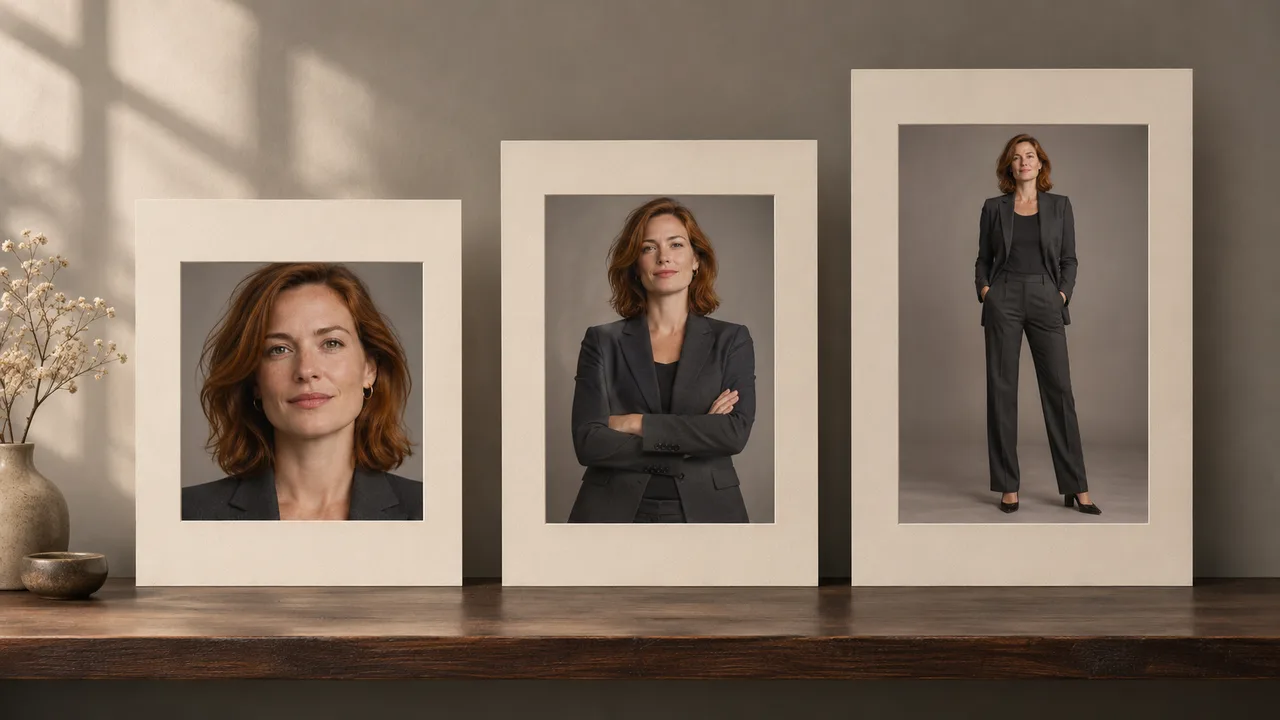
| Head and shoulders | Facial likeness, expression and hair | Eyes and facial features remain clear; the top of the head has suitable space. |
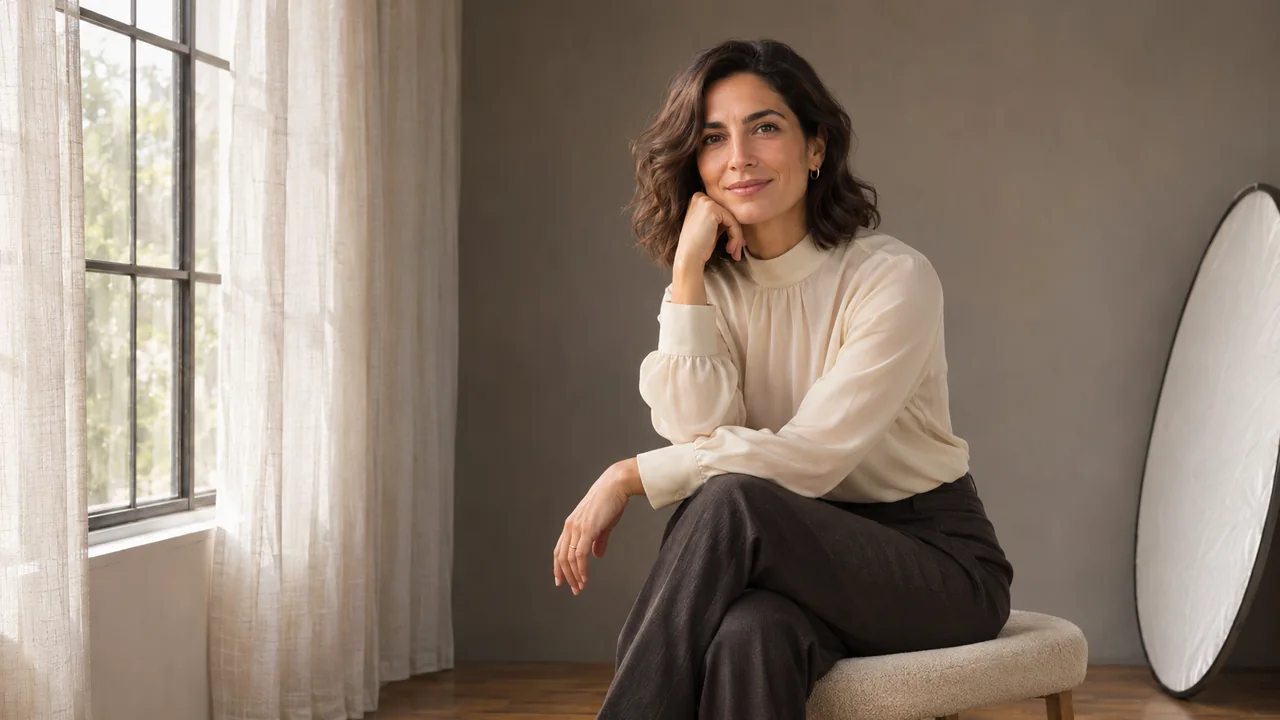
| Waist-up | Expression plus neckline, sleeves and upper-body pose | Hands and elbows do not collide awkwardly with the edges. |
| Three-quarter | Seated posture or more of the outfit | The crop looks deliberate and limbs have a believable continuation. |
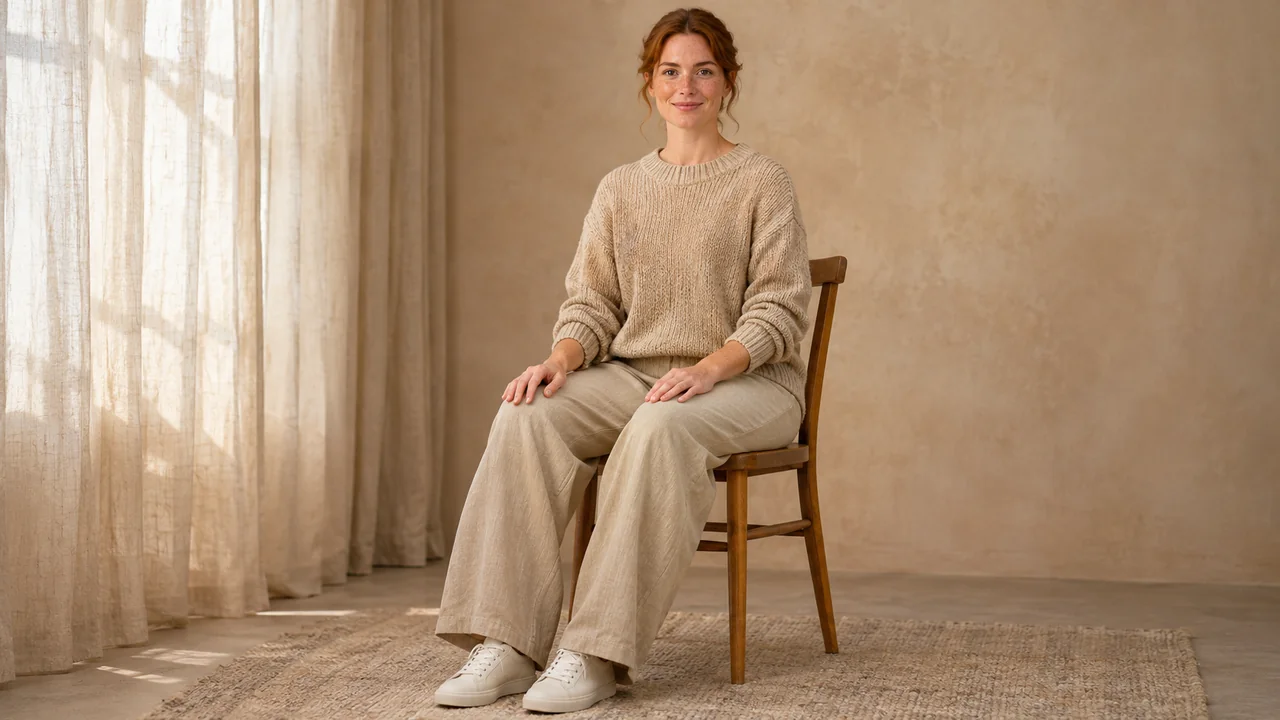
| Full body | Complete stance, clothing length and footwear | The whole head and both feet fit, with some room around them. |
| Environmental portrait | The person in a visible setting | The background supports the subject without making the face too small for your purpose. |
Descriptions can overlap, so add plain details if the boundary matters. "Full body, including both feet, with space above the head and below the shoes" is easier to check than "a cinematic portrait." It still describes an intention rather than a guarantee.
Keep the selected pose compatible with the framing. If you choose a seated reference with the legs extending forward, a tight crop may remove the very part of the pose you wanted. The guide to building a varied pose set can help you give each frame a different job.
Understand the available ratios
AIGirlShot's Photo ratio setting offers 3:4, 2:3 and 1:1. The setting applies to the photoshoot; individual photos can have different framing within that shared shape.
| Ratio | Shape | Planning use |
|---|---|---|
| 3:4 | Portrait rectangle | A starting option for portraits that need some room around the shoulders or seated figure. |
| 2:3 | Taller portrait rectangle | A useful shape to consider for a standing figure or a vertically arranged scene. |
| 1:1 | Square | A centered composition or a final use that calls for a square image. |
These are composition suggestions. A particular ratio does not guarantee better anatomy, more detail or a sharper face. Also, a ratio is not a pixel count. Two files can both be 2:3 and have very different dimensions.
The current portrait generation path requests 1K output. That label should not be read as a promise that every ratio is 1024 by 1024 pixels. Check the actual width and height of the downloaded file before making decisions about enlarging or printing it.
Leave room for the final crop
If you know the image will go into a particular frame or layout, write down that shape before generating. A 4-by-6 rectangle has a 2:3 ratio. A 5-by-7 rectangle has a different ratio, so fitting one image shape into the other can require a crop or borders.
Keep important features away from the extreme edges when the final crop is uncertain. A little room around the head and feet gives you options. Excessive empty space, however, leaves less of the image occupied by the person, so decide which is more important for this photo: a closer view or room for a wider layout.
For a full-body image, inspect the entire result rather than assuming the framing instruction worked. For a portrait with visible hands, check every finger before cropping. A crop that makes a problem harder to notice is not evidence that the generated anatomy is correct.
Write a framing instruction you can review
In Studio, the selected photo's additional options include Framing. The pose reference may also determine the camera angle, so inspect those choices together. Use the shot direction for a relevant detail such as a relaxed expression or how the hands rest.
For example, a concept brief could read: "Waist-up portrait, shoulders slightly turned, hands resting separately and visible within the frame, relaxed expression." A second shot could request: "Full body, complete dress and both shoes visible, comfortable standing posture, space above and below the person."
The six-photo worksheet shows how to mix those purposes while keeping one person and outfit. After generation, use the photo-selection checklist to inspect the files at their original size. If the next step is a physical keepsake, continue with pixels, crop and print size before ordering a print.
Cover: AI-generated editorial illustration, not an AIGirlShot result.
Written by
AIGirlShot Team
Portrait planning and practical guides from the AIGirlShot team.
Related posts