Boudoir photography lighting for an AI portrait plan
Compare window light, soft studio light and side shadow for non-explicit AI portraits. Describe the look clearly and inspect faces, fabric and backgrounds.
At a glance
- Choose the shadow edge, direction and background brightness separately.
- Use visible outcomes such as readable eyes and fabric folds in your description.
- Compare one lighting change at a time when deciding on a new attempt.
For an AI portrait, describe what the light should do to the picture: keep both eyes visible, give one cheek a soft shadow, or separate a dark outfit from the wall. That is more useful than adding a long list of lighting equipment to a prompt.
This guide translates photography language into planning concepts for adult, non-explicit boudoir-inspired portraits. Judge the results by their visible detail; exact lamp placement and physical lighting behavior can vary in a generated image.
Separate three decisions
First choose the shadow edge: gradual or crisp. Then choose the direction: mainly in front, from one side, or another deliberate angle. Finally choose how bright the background should feel. A soft light does not require a bright room, and a dark background does not require a hidden face.
In physical photography, diffusion softens the transition between light and shadow; a sheer curtain is one example of a diffuser. Adobe's guide to diffused light explains the difference between softer and harder illumination. For an AI plan, use that vocabulary to describe the result you want to inspect.
Choose the wider idea first with the boudoir concept guide, then decide which of the following lighting directions suits it.
Window light: a quiet indoor portrait
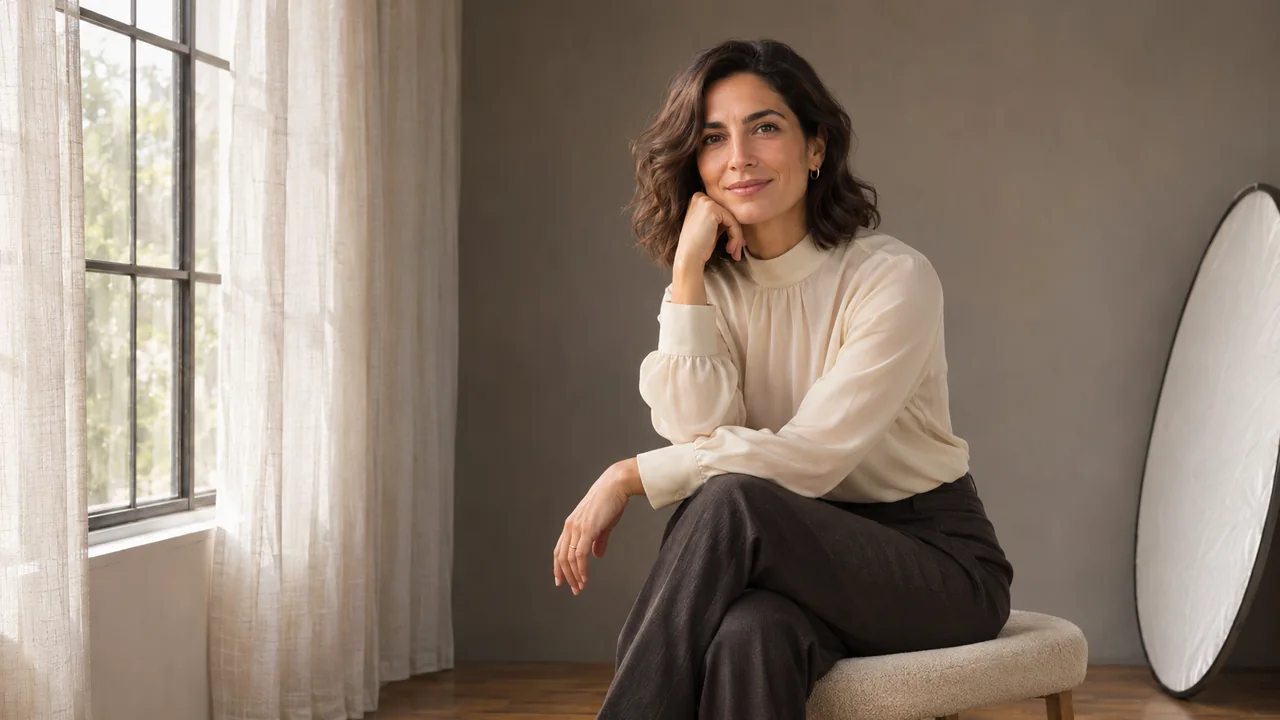
Ask for light coming through a nearby window, a gentle transition across the face and a simple room. You can mention a sheer curtain if that matches the scene. Keep the light direction clear rather than requesting windows on every side.
Soft window light from one side, readable eyes, gentle shadow across the far cheek and natural fabric detail. Quiet neutral room with no bright object competing with the face.
Inspect the face and the window area separately. If the window is the brightest, most detailed object in the image, decide whether it has taken over the portrait. If the far eye disappears, ask for more readable facial detail in the next attempt rather than changing the entire setting.
This concept can work with a seated or standing plan. It does not require the subject to stare into the window; gaze and light direction are separate choices.
Soft studio light: a clear starting point
A plain studio background and gentle facial shadows make a practical concept when your priority is evaluating likeness and clothing. The room has fewer objects to distract you from those checks.
Soft studio portrait on a neutral background, even facial visibility with gentle shaping shadows, clear garment edges and natural skin texture.
“Soft” should not mean that every detail disappears. Inspect the eyes, mouth, hairline and fabric. If the face looks smooth but unfamiliar, changing the lighting adjective may not solve an identity problem. Keep the reference choice and lighting diagnosis separate.
You can browse the scene library for a close starting point and use the text to clarify your preference. Selecting a dark outdoor scene while requesting a pale indoor studio introduces a conflict before generation starts.
Side shadow: more contrast with a readable face
Use a darker setting and one clear direction of light when you want a more dramatic portrait. Name the details you still want visible instead of asking only for “moody” or “cinematic.”
Directional side light, a softly shaded far cheek, visible eyes and a clear outline between the hair, outfit and background. Retain detail in dark fabric and keep the room subdued.
Check whether the shadows describe the face or conceal it. Also inspect dark clothing where it meets the background. You may need a different background tone rather than a brighter whole image. The dark and moody guide develops that decision in more detail.
Compare the three choices by what you can see
| Direction | Facial goal | Background goal | Main review question |
|---|---|---|---|
| Window light | Gentle transition across the face | A quiet, believable indoor setting | Does the window distract from the person? |
| Soft studio | Clear features with subtle shadows | Simple separation from clothing | Is detail preserved without a flat or plastic look? |
| Side shadow | Readable features with deliberate contrast | Subdued surroundings | Can you still judge likeness and garment shape? |
Black and white is a separate choice from any of these. It changes how you judge tone and separation, but it does not automatically create strong side lighting. Use the black and white guide if you want a monochrome set.
Make a useful comparison
If you choose to generate another attempt to compare lighting, keep the person, outfit, pose and frame as similar as the workflow allows. Change one lighting instruction. The result will still be a newly generated image, so other details may change too.
Compare the face first, then the clothing and room. Keep notes in plain language: “far eye too dark” or “white sleeve lost against wall.” Those observations give the next request a purpose. “More professional” does not.
You do not need three lighting styles in every album. Choose one that suits your intended pictures, then build variety through pose and framing with the six-photo planning guide. Check the quote before requesting any new generations.
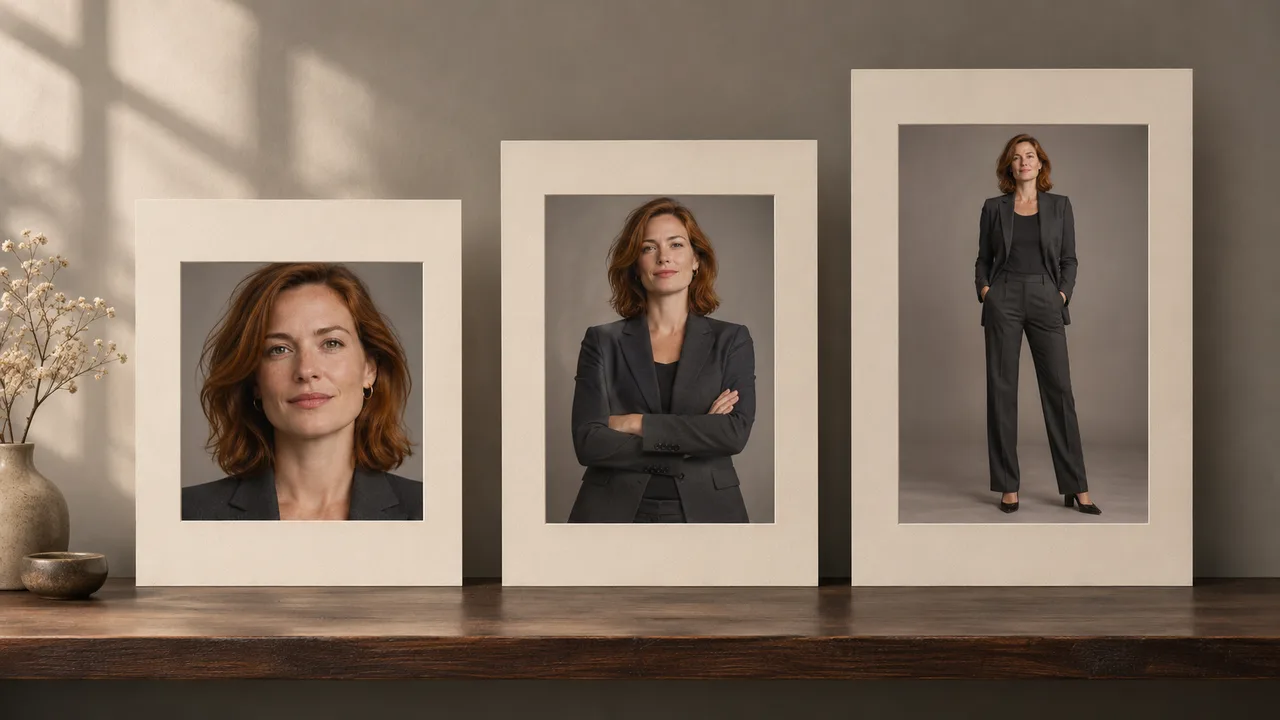
Cover: AI-generated editorial illustration, not an AIGirlShot result.
Sources
Written by
AIGirlShot Team
Portrait planning and practical guides from the AIGirlShot team.
Related posts