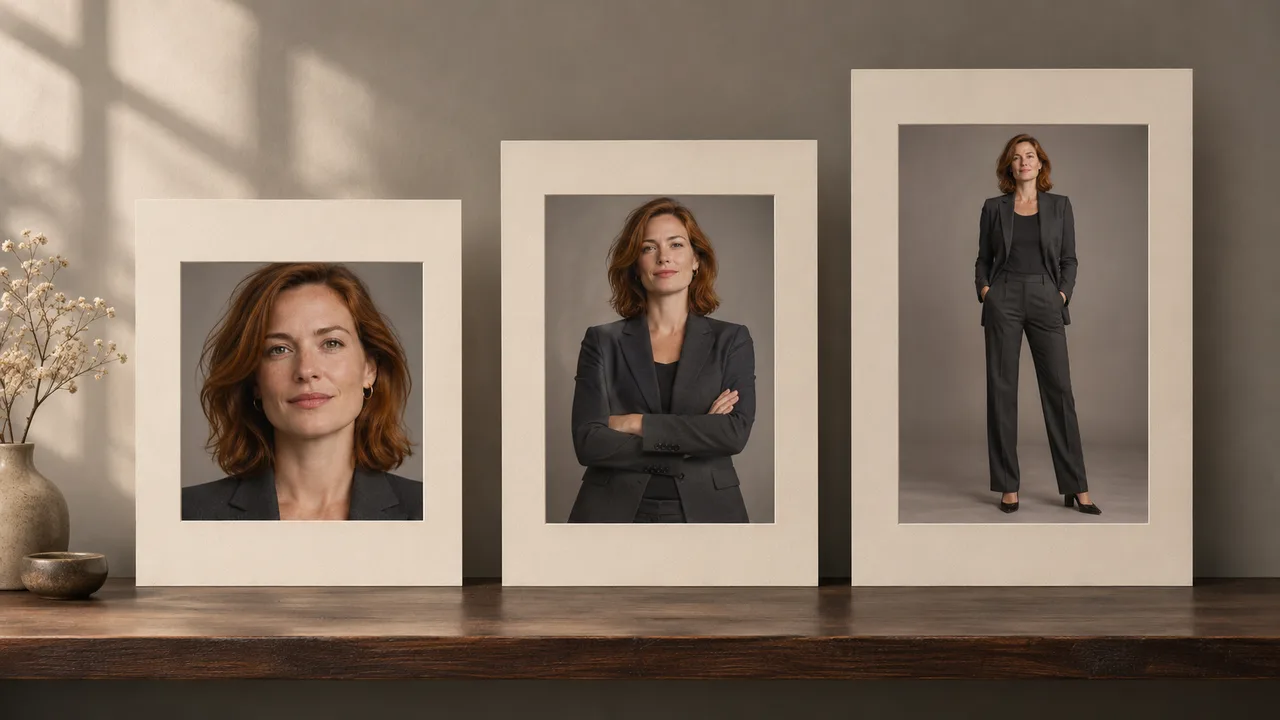
Boudoir poses for beginners: four simple starting points
Start an AI portrait plan with four easy seated and standing poses. Keep instructions short and inspect the face, posture, hands and clothing.
At a glance
- Choose a comfortable position with one clear instruction for the hands.
- Begin with a readable face and a straightforward camera angle.
- Inspect the first results before adding more complex gestures.
For your first AI portrait plan, choose a pose you can explain in one sentence. A relaxed seat or natural standing position gives you a clear picture to ask for and a clear result to inspect. You can add variety after you know what you like.
The four options below are adult, non-explicit portrait concepts. They use comfortable seated and standing positions with simple hand placement. Use them as starting points and review the actual posture in each result.
Start with the easiest result to judge
Choose a waist-up or knees-up frame with the face visible and the camera roughly at eye level. This gives you room to inspect expression, shoulders and hands without making every detail of the room part of the task.
Keep the selected person and outfit the same while choosing your first poses. If you change the face reference, clothing, lighting and posture together, it becomes difficult to work out why one result feels better. The broader pose planning guide explains how to build a varied set once the starting points are clear.
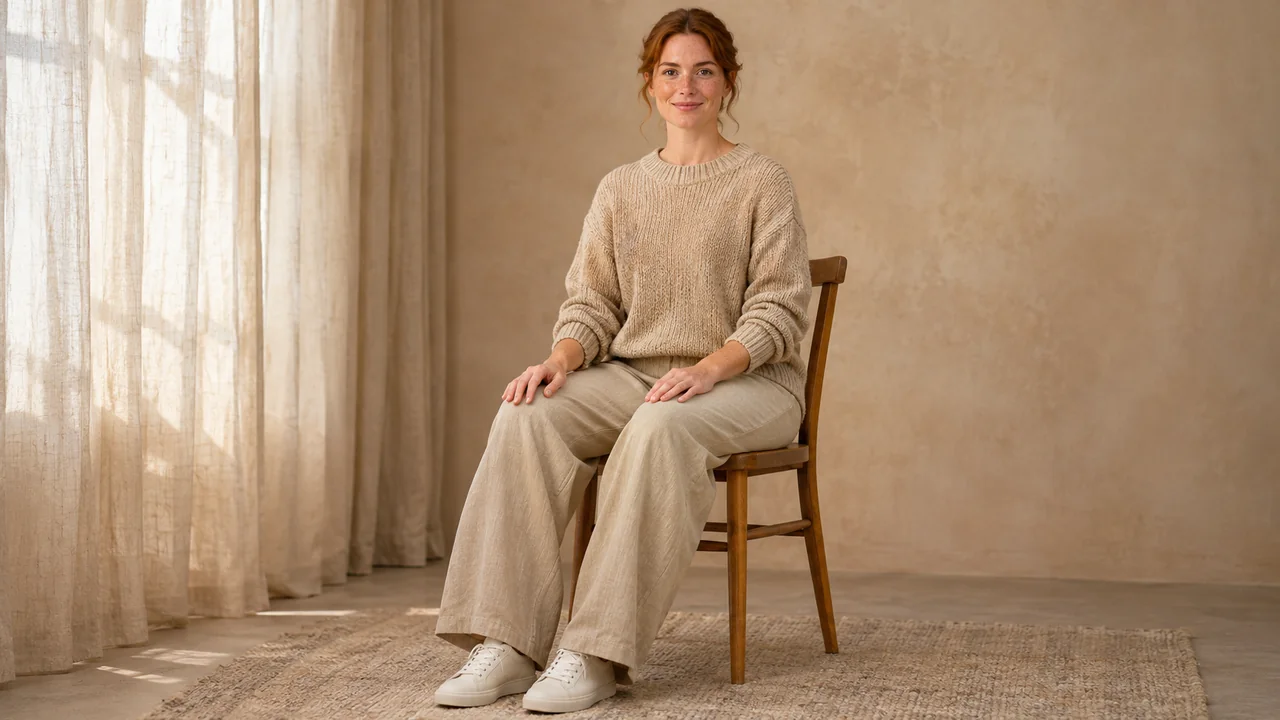
1. Front-facing seated portrait
Use a plain chair, relaxed shoulders and hands resting separately on the thighs. Ask for a comfortable upright posture rather than rigid straightness. The main choice is the gaze: start by looking toward the camera.
Seated facing the camera, shoulders relaxed, both hands resting separately on the thighs. Knees-up portrait at eye level, comfortable posture and a calm expression.
Inspect whether the arms connect naturally to the shoulders and whether the hands actually rest where you asked. Check the chair too: its seat and legs should make sense around the person. If they do not, simplify the scene before adding a different gesture.
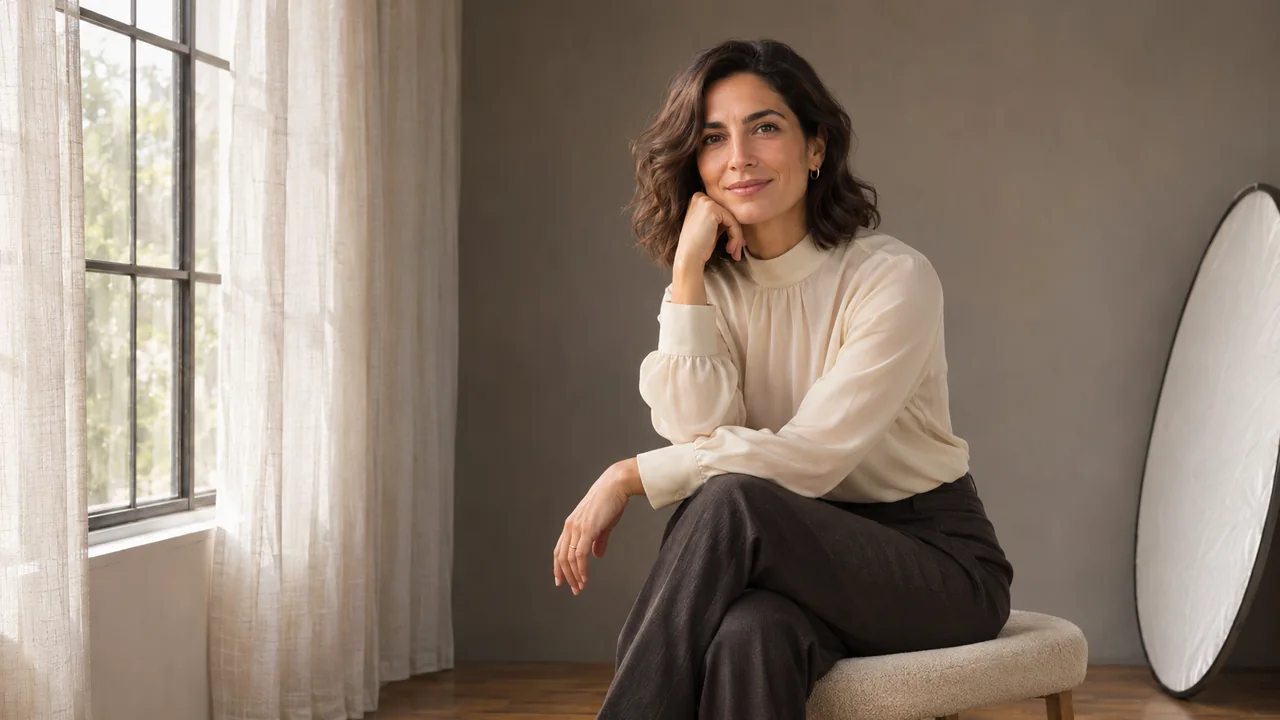
2. Seated at a slight angle
Keep the same chair and outfit, but turn the seated body a little to one side while the face remains readable. There is no need to specify an exact number of degrees. A small change is enough for the picture to feel different.
Relaxed seated three-quarter pose, face gently turned toward the camera, hands resting on the lap. Keep the shoulders comfortable and the clothing coverage unchanged.
Check the relationship between the face, neck and shoulders. The head should not appear turned much farther than the rest of the posture allows. This is also a useful frame for seeing whether the neckline stays consistent.
3. Natural standing portrait
Ask for a balanced stance with arms at the sides. A full-length version shows the complete outfit, while a three-quarter frame leaves less background to manage. Choose one before generating.
Standing comfortably, feet placed naturally, arms relaxed at the sides, shoulders level and gaze toward the camera. Three-quarter portrait with natural body proportions.
Look at the hands, arm length and garment edges. If you choose a full-length frame, also check that both feet belong to a plausible stance. A smooth-looking thumbnail can hide an awkward ankle or a shoe that has changed shape.
4. A light shoulder lean
Use a plain wall and a gentle shoulder lean while keeping the body upright. The wall should support the scene, not force a dramatic pose. Leave the hands relaxed rather than adding another point of contact.
Standing beside a plain wall with one shoulder resting lightly against it. Comfortable upright posture, relaxed arms and a small turn toward the camera.
Inspect the wall contact and the space around the arm. The body should not blend into the surface. If the leaning pose is awkward, return to natural standing; you do not need to keep escalating the description to make one idea work.
Know when to stop adding instructions
A useful first description names the body position, frame, gaze and hand placement. Once those agree, pause. Extra instructions about every finger, muscle and fold can compete with the main request.
Read the plan aloud. “Sit facing forward, turn fully sideways and look over both shoulders” is obviously contradictory when you say it. Less obvious conflicts include requesting hands in pockets on a garment without pockets, or a seated pose in a scene without a seat.
Browse the available poses and choose the closest starting point. Your text should clarify that selection rather than describe an unrelated position.
Review before making the plan more complicated
Check four things: does the face look right, is the posture plausible, are the hands usable, and does the outfit respect your chosen coverage? If a hand is the only issue, use the hand regeneration guide to decide whether a simpler placement is worth another paid attempt.
A new attempt creates a new image and may change things you liked. Keep the existing result while comparing. Once you have chosen two comfortable poses, build the rest of the sequence with different frames and expressions using the six-photo plan. You can stop at a smaller set if those pictures already meet your goal.
Cover: AI-generated editorial illustration, not an AIGirlShot result.
Written by
AIGirlShot Team
Portrait planning and practical guides from the AIGirlShot team.
Related posts