How to plan a six-photo AI shoot before you spend credits
Use a six-shot worksheet to fix the person and outfit, vary poses and framing, and check the complete photoshoot before accepting its quote.
At a glance
- Choose one person and one outfit before arranging individual photos.
- Give each shot a purpose so the set contains more than near duplicates.
- Check the full plan and displayed quote before starting generation.
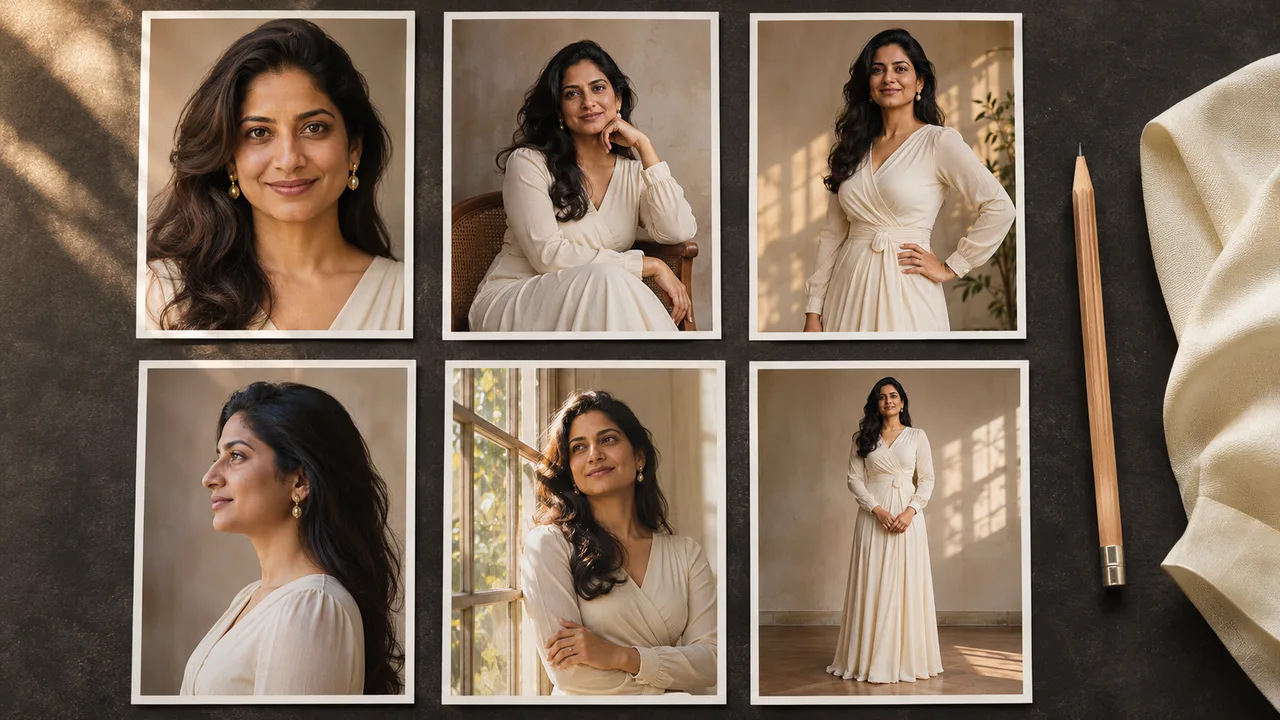
A useful six-photo set gives you six reasons to keep a photo. One might show your expression clearly. Another might show the whole outfit. A seated portrait can change the mood without changing the person or the wardrobe.
Plan those differences before generating. Six is a manageable teaching example here, not a statement of AIGirlShot's maximum photoshoot size. Use the photo count available in your current interface and pay attention to the complete quote.
The worksheet below is a concept plan, not a tested album or a promise of six usable results. Its purpose is to make the request easier to build and the results easier to assess.
Set the shared choices first
Choose the person, outfit and overall intention before filling the shot rows. For a personal set, prepare your reference photos and confirm that the intended saved identity is selected. If you are only exploring a concept, a virtual model may be a suitable starting point.
Pick one outfit whose main details you can describe plainly. A dark, fully covered evening dress with wide straps and minimal accessories is easier to specify than "something elegant and different in every photo." The outfit planning guide helps you decide which details should remain constant.
For this example, the shared intention is a calm, fully clothed portrait set in a simple room with soft window light. The same adult appears throughout, wearing the same dress and hairstyle. Adapt the example to the published choices you can actually select; it is not the name of a ready-made preset.
Give each photo a job
| Photo | Pose and expression | Scene | Framing | Reason to keep it |
|---|---|---|---|---|
| 1 | Relaxed, mostly facing the camera | Simple room with soft window light | Head and shoulders | A clear view for judging facial likeness. |
| 2 | Standing with shoulders slightly turned | Same room | Waist-up | A quieter variation with more of the outfit. |
| 3 | Seated upright, hands resting separately | Same room, simple chair | Three-quarter | A different body position and a readable hand arrangement. |
| 4 | Standing with an uncomplicated stance | Same room, clear floor area | Full body | The dress length, complete silhouette and feet. |
| 5 | Small head turn toward the light | Same room | Head and shoulders | A second expression without a dramatic angle change. |
| 6 | Seated, looking toward the camera | Same room with more background visible | Environmental portrait | A closing image that shows the setting. |
Use this as a written brief while choosing the closest suitable published pose and scene. If a pose reference dictates a different camera angle, adjust the plan to the reference you selected. Avoid asking the text for a front view while the visual reference clearly asks for a side view.
Each row should remain useful if another row fails. For example, the full-body photo has a different purpose from the two closer portraits. The pose-set guide explains how to vary a collection without relying on increasingly complicated body positions.
Choose what changes between rows
You can give individual photos their own scene in AIGirlShot. For a first plan, keeping the setting similar makes it easier to compare the person's appearance across the set. If location changes are the point of the album, list those deliberately rather than adding them because every row looks too similar in the planner.
The scene carries lighting information, so review the light whenever you change it. A dramatic move from a bright room to deep shadow also changes how easy it is to judge the face and clothing. Read the lighting guide before making that choice.
AIGirlShot's photo ratio is a shared photoshoot setting. Choose the ratio that supports the set's intended use, then describe the framing separately for each shot. A full-body composition and a close portrait can use the same ratio. See framing and aspect ratio for the distinction.
Transfer the worksheet into the plan
Start with an appropriate photoshoot or compose a plan from the public catalog. Inspect the shared person and outfit, then review every photo's scene and pose. When duplicating a row, change it for a reason: a different framing, expression or position. Remove accidental duplicates before continuing to Studio.
In Studio, use the overall direction field for preferences that apply to all photos. Use a selected photo's shot direction for its particular expression or composition. The prompt structure guide shows where these instructions belong.
Before starting, check the number of requested photos and the current total price. Recheck the quote after changing the plan. Decide how much room, if any, you want to leave for separately priced retakes. A larger initial set does not remove the need to review it.
The series workflow uses the first generated photo internally as a consistency reference and continues the remaining photos after storing it. It is not a mandatory separate paid-preview approval step. Do not start the whole series on the assumption that it will pause for your aesthetic approval after photo one.
Review against the purpose of each row
Once results are available, compare them to the worksheet. Does the first photo resemble the intended person? Does the full-body photo include the feet and maintain the intended proportions? Is the seated image usable when you inspect the hands?
Use the face-consistency checklist when the first image looks right but later faces drift. Then follow the selection guide to decide which images to keep, which one needs a new take and whether a planned view can simply be left out.
Cover: AI-generated editorial illustration, not an AIGirlShot result.
Written by
AIGirlShot Team
Portrait planning and practical guides from the AIGirlShot team.
Related posts