Black and white boudoir photos: plan contrast before generating
Plan black-and-white AI portraits with readable faces, separate clothing and background tones, and a checklist for the finished file.
At a glance
- Separate the person, clothing, and background through brightness and texture.
- Black and white can be soft and bright or dark and dramatic.
- Inspect the downloaded file instead of judging detail from the thumbnail.
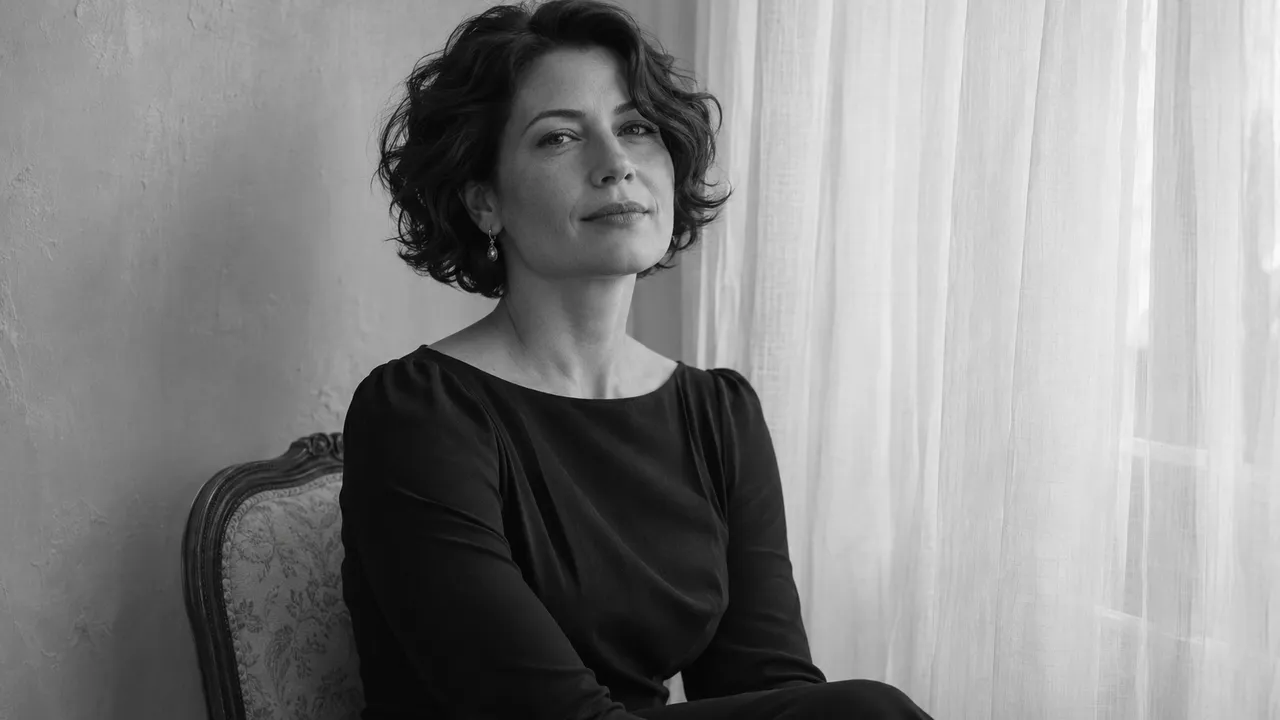
For black-and-white boudoir-inspired portraits, plan where the light and dark areas will sit before you generate. The face should remain readable, the outfit should separate from the background, and the darkest areas should retain the details you need.
Black and white does not have to mean harsh contrast or a nearly black room. You can choose a soft, bright portrait or a darker image with a clear pool of light. Decide which one you want, then build the scene around it.
Give each part of the picture a distinct tone
Without color, brightness and texture do more of the work of separating elements. A dark outfit against a similarly dark wall can lose its outline. A pale garment and pale chair may also become difficult to distinguish.
Fujifilm's monochrome portrait guide recommends a simple composition, contrast between the subject and background, and some directional light. Those are useful planning principles; they do not establish how a particular AI request will turn out.
In your brief, assign the background a role. Try a medium-gray wall behind a dark opaque dress, or a slightly darker curtain behind a pale blouse. You are choosing a visible relationship, not asking for every part of the picture to become more dramatic.
If you are still choosing the overall concept, start with the boudoir idea guide. Then choose a scene that supports the tones you need.
Choose a bright or dark direction
These are two planning examples, not before-and-after results.
| Choice | Soft, brighter portrait | Darker portrait |
|---|---|---|
| Background | Pale or medium gray, with a little separation from the outfit | Dark neutral surface with a readable outline around the subject |
| Clothing | Opaque knitwear or a dress with visible folds | Opaque evening clothing with controlled highlights |
| Face | Gentle shadow and detail across the features | More shadow, while the eyes and main features remain readable |
| First frame | Waist-up, with a little space around the shoulders | Close or three-quarter portrait near the described light |
Choose the brighter version when your main goal is a relaxed personal portrait. Choose the darker version when atmosphere matters more, but keep likeness as a separate acceptance check. For a deeper treatment of shadow, use the dark and moody guide, which also applies to color images.
Describe the light in ordinary language
You can write "soft window light from one side, with facial detail visible on the shadowed side" rather than listing studio equipment you do not intend to use. Describe the desired result clearly enough that you can inspect it later.
Avoid stacking incompatible requests such as flat even lighting, deep dramatic shadows, and an entirely glowing face. Pick the most useful instruction for this frame. The lighting guide explains the tradeoffs between a gentle portrait and more directional shadow.
Keep the lighting description consistent across the first few photos. Change the camera distance or posture before changing the whole scene, so the set retains a shared look.
A short planning template
Use this as a concept note, adapted to the actual selected person and clothing:
Black-and-white portrait of the selected consenting adult, wearing the selected opaque outfit with its neckline and length unchanged. Simple medium-gray interior, soft window light from one side, recognizable facial features, natural skin texture, and visible fabric folds. Seated waist-up composition with relaxed shoulders and hands resting separately. Keep the clothing distinct from the background and retain detail in the shadows.
Request the style before generation, then check whether the result follows it. If monochrome styling is not followed, review the supported controls and consider a separately quoted new take with a simpler brief. Keep the original downloaded image if you later choose to edit it in another application.
Inspect the original file
Download a ready image and inspect it at its actual pixel size. The small preview can hide a blurred eye, a strange hand, or an area of clothing that has become a single dark shape. Check both the full composition and the face at a closer view.
Look for readable eyes, believable skin texture, separated fingers where visible, and continuous garment edges. Do not assume a large black area contains detail that can later be restored. A new generation may be needed if the information is absent.
The framing and aspect-ratio guide helps you avoid relying on a heavy crop after the fact. The selection guide helps compare the monochrome pictures as a set. Keep the ones whose expression, likeness, and tonal structure all serve the concept, then note a specific correction for any frame you choose to redo.
Cover: AI-generated editorial illustration, not an AIGirlShot result.
Sources
Written by
AIGirlShot Team
Portrait planning and practical guides from the AIGirlShot team.
Related posts