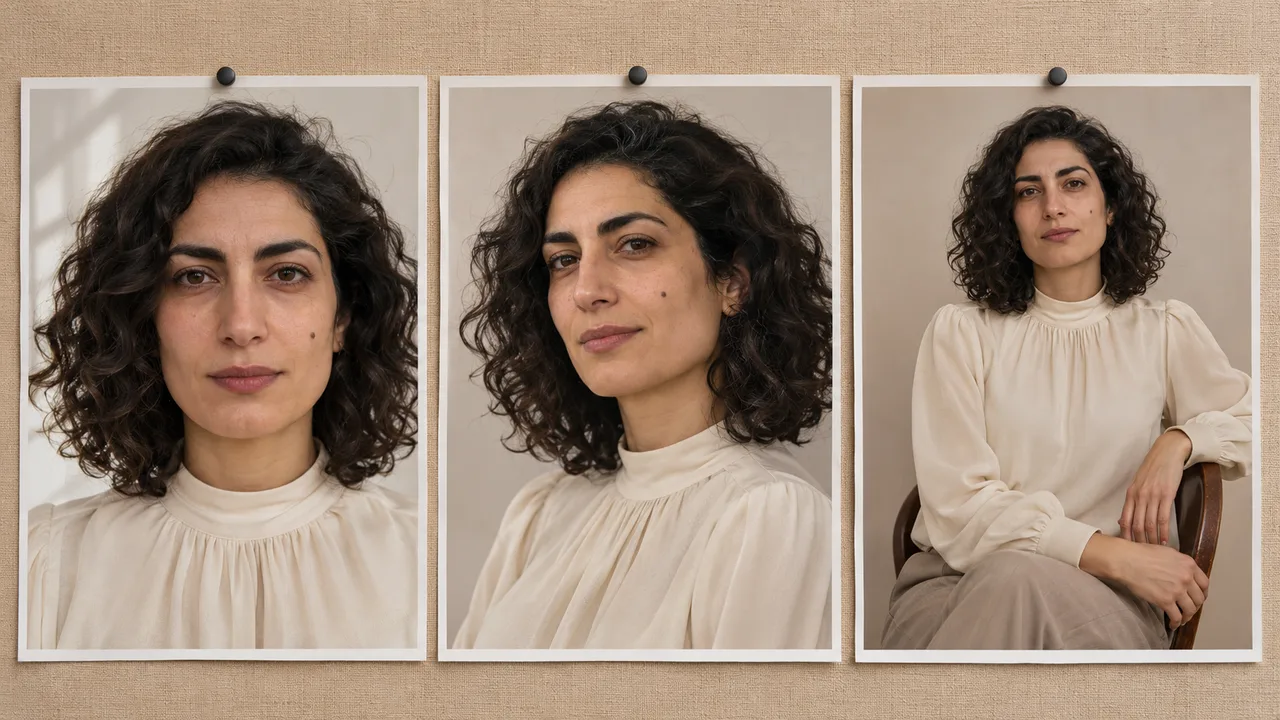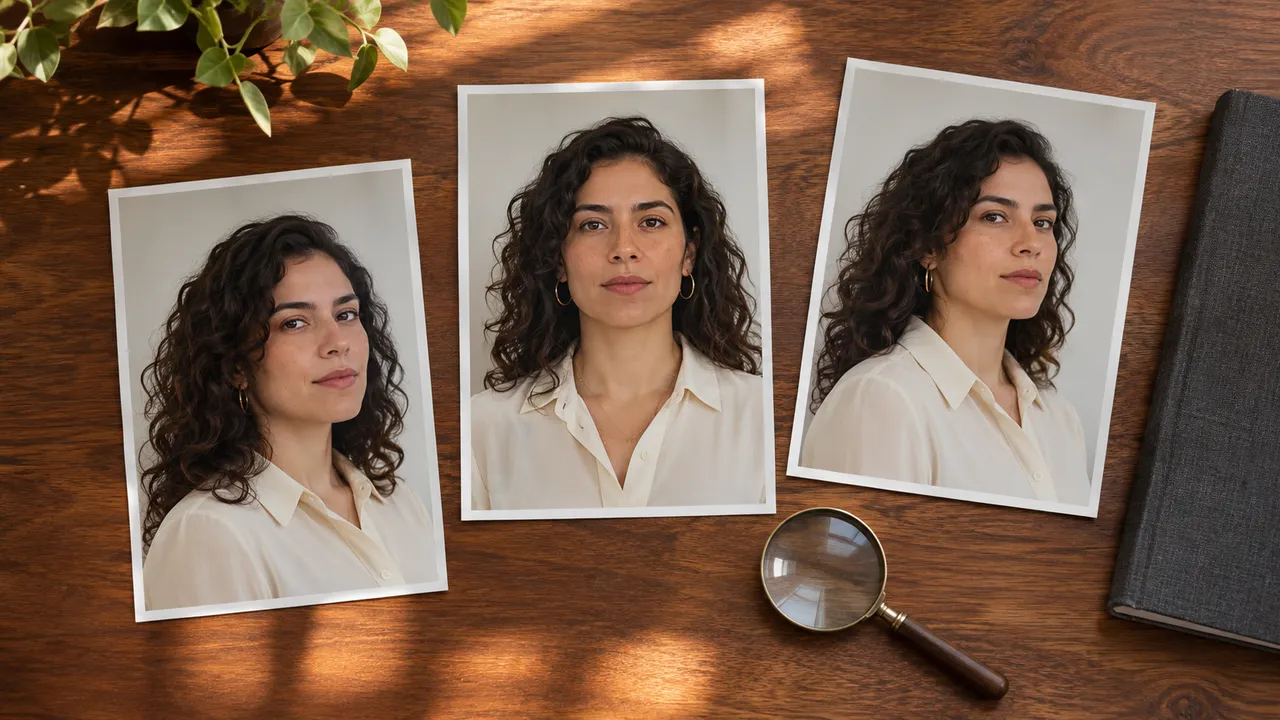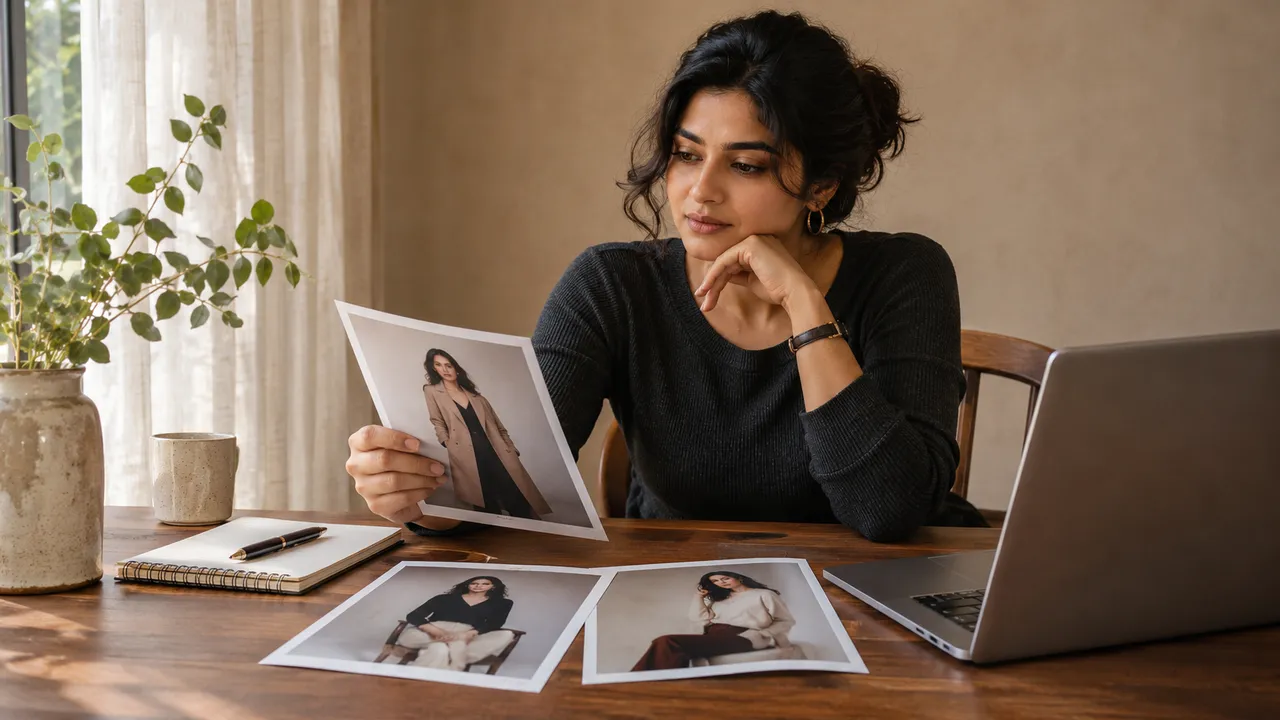
How to fix AI hands when you can regenerate a photo
Check AI hand errors, simplify the pose and decide whether to regenerate one portrait. A practical workflow without a brush or local repair tool.
At a glance
- Inspect fingers, wrists and contact points in the downloaded image.
- Change one hand instruction before regenerating the affected photo.
- A redo creates a new image and can change more than the hands.
If you like the face and outfit but the hands are wrong, first decide whether the photo needs a new pose or whether a different finished frame already does the job. In AIGirlShot, the available correction is to revise the shot and regenerate it. This workflow does not include a brush, mask or one-click hand repair feature.
A new generation can change the face, fabric and background as well as the hands. Save a copy of the version you like before ordering another attempt, and compare the whole replacement afterward.
Inspect the hand before describing the problem
Open the downloaded image at its original size. A thumbnail can hide a fused fingertip, while extreme zoom can make ordinary image softness seem worse than it will look at the size you plan to use.
Follow each visible arm from the shoulder to the wrist, then look at the hand. Check the visible fingers, their attachment, the direction of the thumb and what the hand appears to touch. You do not need all five fingers visible in every pose: some may be naturally behind another finger or an object. The question is whether the visible structure makes sense.
Write down a concrete problem such as “two fingers merge where the hand meets the chair” or “the wrist appears to bend in the wrong direction.” “Bad hands” is too broad to guide a useful change.
| Visible issue | A simpler next-shot plan |
|---|---|
| Fingers merge while gripping fabric | Let the hand rest without pulling the fabric |
| Two hands overlap ambiguously | Give each hand a separate resting position |
| A hand seems fused to a cheek | Move it to a chair arm or leave space between hand and face |
| Jewelry and fingers form confusing shapes | Remove the hand accessory from the concept |
| A wrist disappears behind an object | Choose a pose with a clearer arm-to-hand connection |
These are planning choices, not tested guarantees. Choose the one that addresses your image instead of adding every instruction to the prompt.
Give each hand one uncomplicated job
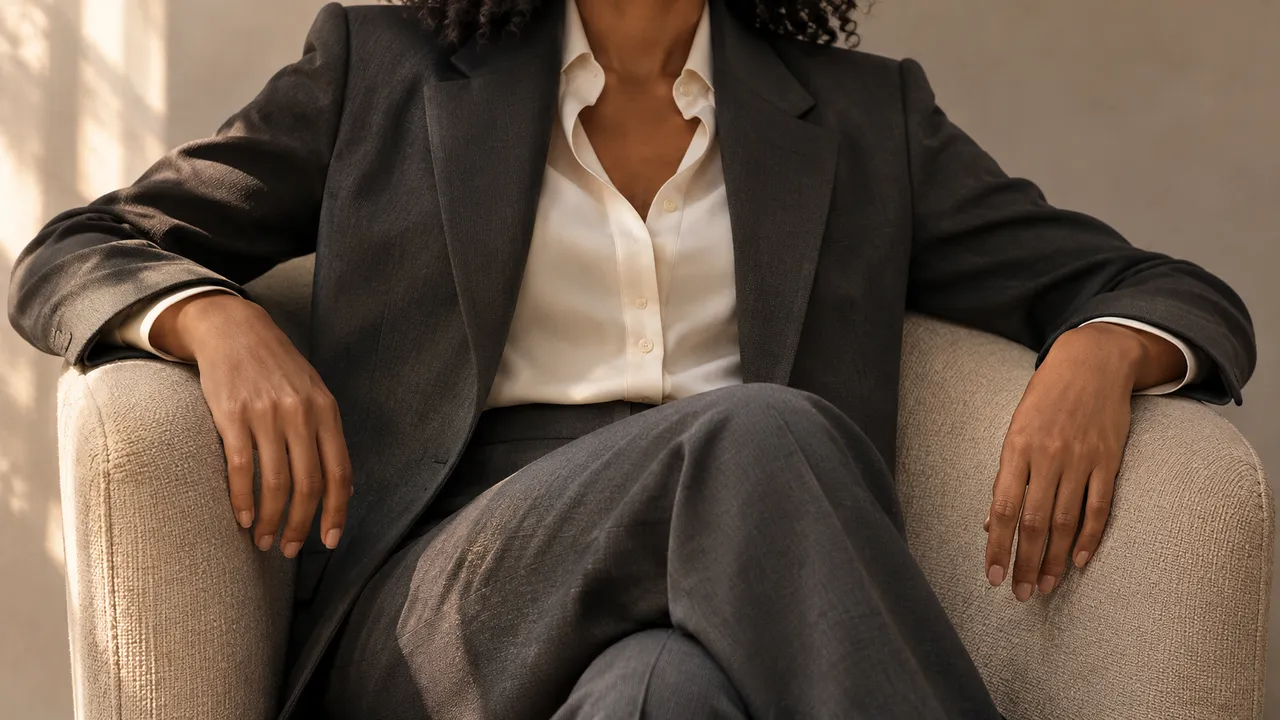
A hand that holds a necklace, pulls a sleeve and touches the face at once is difficult to describe clearly. For a first redo, use a resting action: one hand on an armrest, one hand relaxed on the thigh, or both arms resting separately at the sides.
For a seated, fully clothed portrait, a planning note might read:
Adult subject seated upright in a satin evening dress. Left forearm rests on the chair arm, with the hand relaxed. Right hand rests separately on the thigh. Both wrists remain visible. Keep the pose comfortable and unforced.
This is an illustrative shot description, not an AIGirlShot result or a special repair command. Keep your existing person and outfit choices, then make the smallest useful pose change. See simple poses for beginners for alternatives that do not depend on elaborate hand gestures.
Check whether the framing still suits the photo
A wider composition can show how an arm connects to the body. A closer head-and-shoulders portrait may omit hands when hands were never important to the intended picture. Make that choice because it serves the composition, not because an unresolved defect should pass as a repaired result.
If you want a full-body photograph, judge the hands in that full-body photograph. Cropping away the problem produces a different picture. The framing and aspect-ratio guide helps you decide whether that trade is acceptable before spending credits.
Avoid changing the entire scene, outfit, person and pose together. If the next image improves, you will have no clear idea which change helped; if it gets worse, you will have several changes to undo.
Regenerate the affected shot, then inspect everything
Open the photo's controls in Studio, adjust the relevant shot settings and check the displayed redo price. A single-photo redo is a new quoted generation. Other photos in the set remain separate; you do not need to order a whole new series solely to address one hand.
Keep a short comparison note:
- What was wrong in the first image?
- Which pose instruction changed?
- Did the hand improve at the intended viewing size?
- Did the replacement introduce a face, outfit or background problem?
The old image remains available while a replacement is running or fails, but downloading a keeper before a successful replacement gives you your own copy. Do not treat the application as a permanent version archive.
Know when to keep a different frame
A successful redo does not need to match the original pixel for pixel. It does need to be a photo you want. If the hand improves but the likeness becomes less convincing, the replacement may be the worse choice.
Set a retake limit using your photoshoot budget. When the same interaction keeps producing an unclear result, choose a different pose from the pose catalog, keep another frame, or leave that shot out. Use the selection checklist to judge the final set instead of spending every remaining credit on one stubborn picture.
Cover: AI-generated editorial illustration, not an AIGirlShot result.
Written by
AIGirlShot Team
Portrait planning and practical guides from the AIGirlShot team.
Related posts