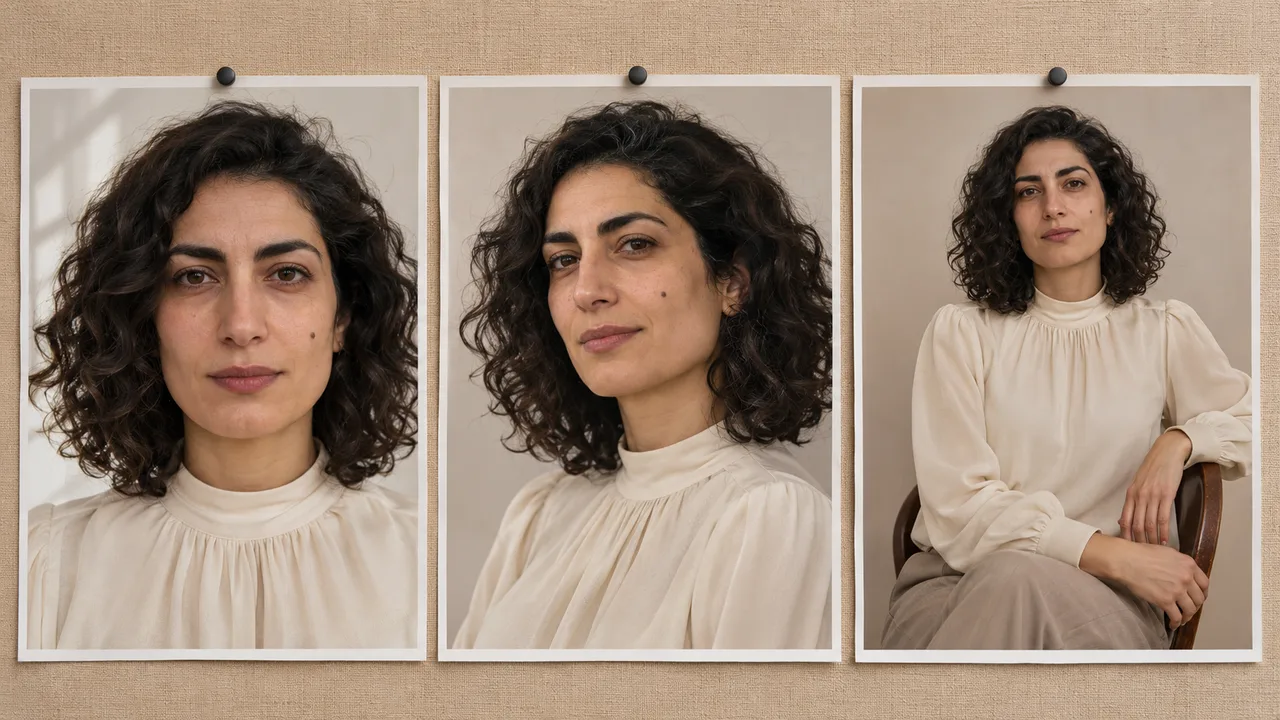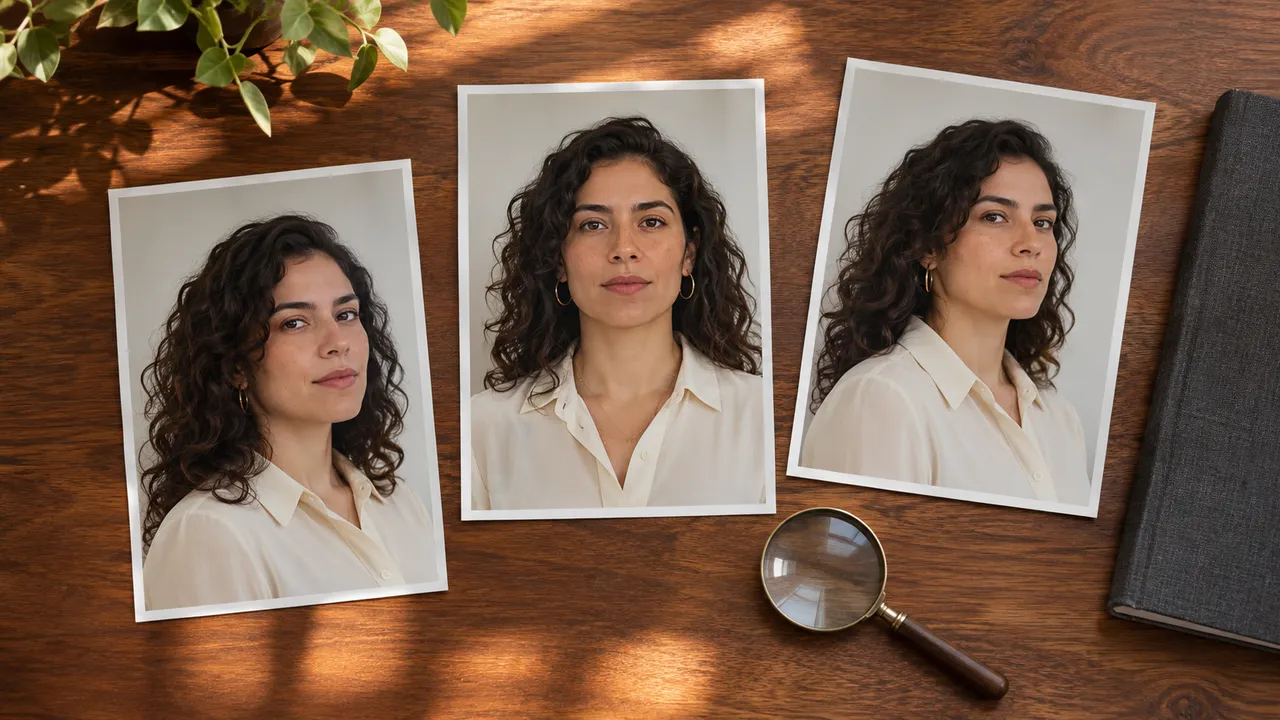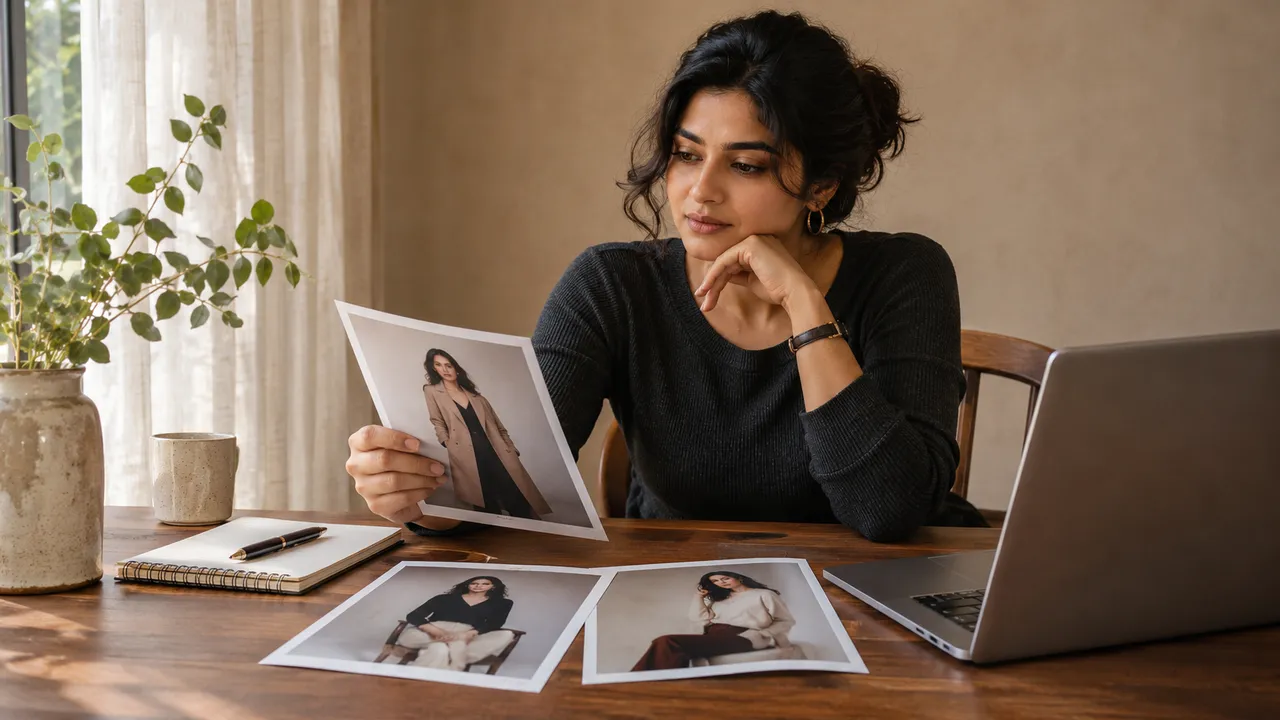
AI skin texture: reduce the plastic look in portraits
Plan a more natural-looking AI portrait by checking references, lighting and prompt language. Learn what to change before another generation.
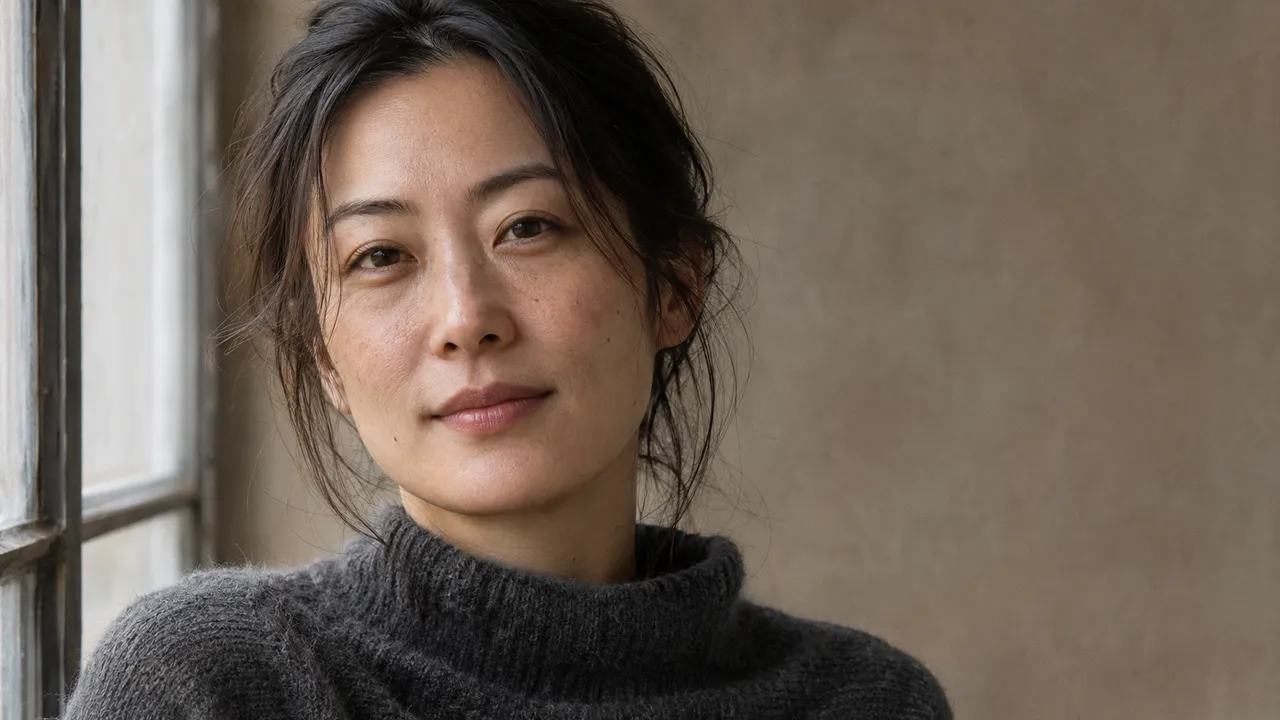
At a glance
- Separate smooth skin, hard highlights and excessive sharpness before changing the prompt.
- Use a clear reference and a simple lighting direction for the next attempt.
- Generated texture is an interpretation, not a recovery of your real skin detail.
When an AI portrait looks waxy, “add more detail” is not always a useful next instruction. The problem might be flat shading, a glossy highlight, an overly filtered reference or a description that asks for flawless beauty advertising. Decide which one you can actually see before changing the next shot.
This guide concerns the appearance of a generated image. It is not skincare advice, and added texture does not prove that the image reproduces your real pores, freckles or fine lines. AIGirlShot's portrait workflow generates a new image; it does not include a skin-enhancement or local retouching tool.
Name the kind of artificial texture
Open the original downloaded photo, not just the album thumbnail. Look at the forehead, cheeks, nose and neck at the same viewing scale. Then step back and judge the whole portrait. A pleasing face can contain natural variation without needing every pore to be sharply visible.
| What you notice | What to reconsider |
|---|---|
| Cheeks look like a smooth painted surface | Strong smoothing language or an already filtered reference |
| Forehead and nose have broad plastic-looking shine | The requested lighting and glossy styling |
| Skin has gritty dots or harsh edges | Repeated sharpness, microdetail or exaggerated texture instructions |
| Face looks detailed but the neck does not | The overall consistency of the result, not just one attractive crop |
| Skin tone changes abruptly within the face | Light direction, colored-light requests and the finished image itself |
These observations do not reveal the provider's internal cause. They give you a practical starting point for a controlled new attempt.
Check the reference before adding instructions
Choose a clear, recent photo of the adult subject you have permission to use. If a beauty filter has already smoothed the cheeks or changed the jaw, the reference does not provide a neutral record of those details. A very small face in a busy picture is also a weak basis for judging subtle texture.
You do not need to upload a new collection of close-up skin photographs. Start by reviewing the references you already selected: is the face easy to see, does the lighting reveal its shape, and does it resemble the person as they want to appear? The reference-photo guide covers that selection without promising exact reconstruction.
Keep the original reference unchanged in your own files. Adding artificial sharpness to a copy before upload may make it harder for you to judge what was present in the source.
Simplify the light and the style request
For the next attempt, consider one broad, soft light direction with gentle facial shadows. This is a planning choice that makes the desired look easier to describe. It is not a promise that soft light will fix every texture issue.
Avoid asking for soft window light, a hard flash, glossy magazine skin and an unretouched everyday portrait all at once. Pick the look you actually want. Our portrait lighting guide separates window light, studio light and shadow-led concepts.
A concise example for a new shot is:
Adult subject in a simple evening outfit, photographed beside a large window. Soft directional light and gentle facial shadows. Natural-looking skin with subtle variation; restrained makeup and a relaxed expression. Keep the portrait photographic rather than heavily retouched.
That example is a concept description, not a tested preset. If your existing prompt contains “perfect porcelain skin” or “flawless airbrushed finish,” first remove that conflict. Adding a long negative list beneath it leaves two competing requests in the same plan.
Change one condition and compare the full image
Decide whether the next attempt will use a clearer reference, a simpler light description or fewer retouching adjectives. Keep the other important choices stable. A short note such as “same outfit and framing; changed glossy beauty light to soft side light” is enough to remember what you tried.
A single-shot redo has a new quote and can change other parts of the image. Download a copy you want to keep, check the price in Studio and decide whether the improvement is worth another attempt. This is a new photograph, not a texture-only operation.
Afterward, check the face, neck and visible hands together. Look for texture that fits the light and scale of the image. Do not reward extra grain merely because it looks more detailed. Also check likeness: a portrait that no longer looks like you has a different problem from one that simply looks too polished.
Choose the image that suits its actual use
A small private album image and a close portrait intended for printing expose different details. Review at the intended size as well as the original pixel view. If you plan a physical print, calculate the available print size before judging an enlarged screen preview.
Use the final selection checklist to balance texture with expression, likeness, anatomy and outfit. If none of the attempts fits your preference, keep the better photographs and stop. More spending does not guarantee a particular skin rendering.
Cover: AI-generated editorial illustration, not an AIGirlShot result.
Written by
AIGirlShot Team
Portrait planning and practical guides from the AIGirlShot team.
Related posts