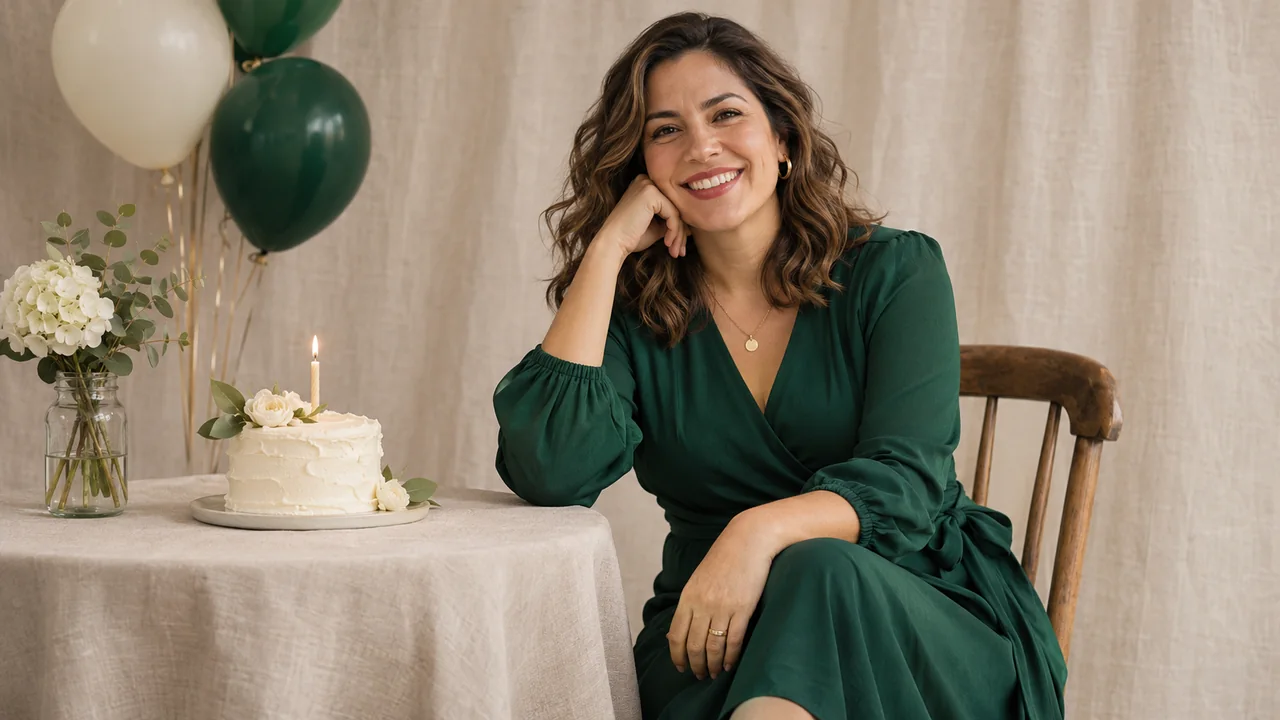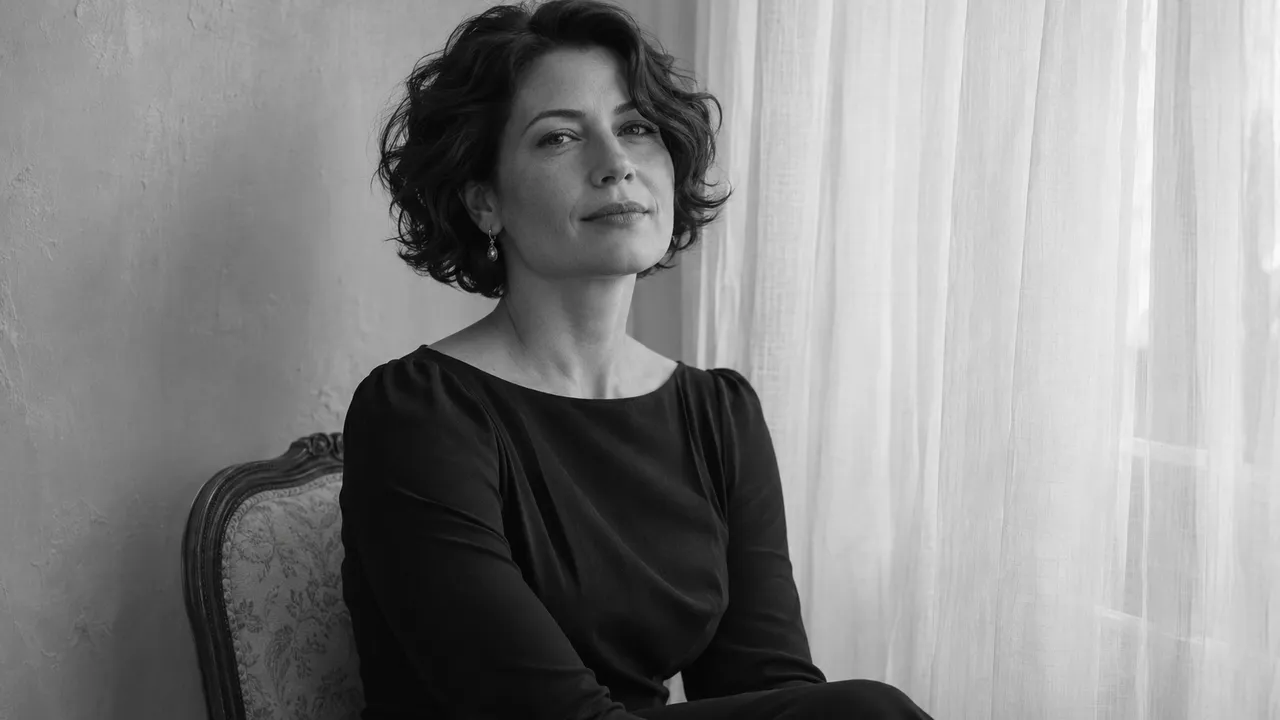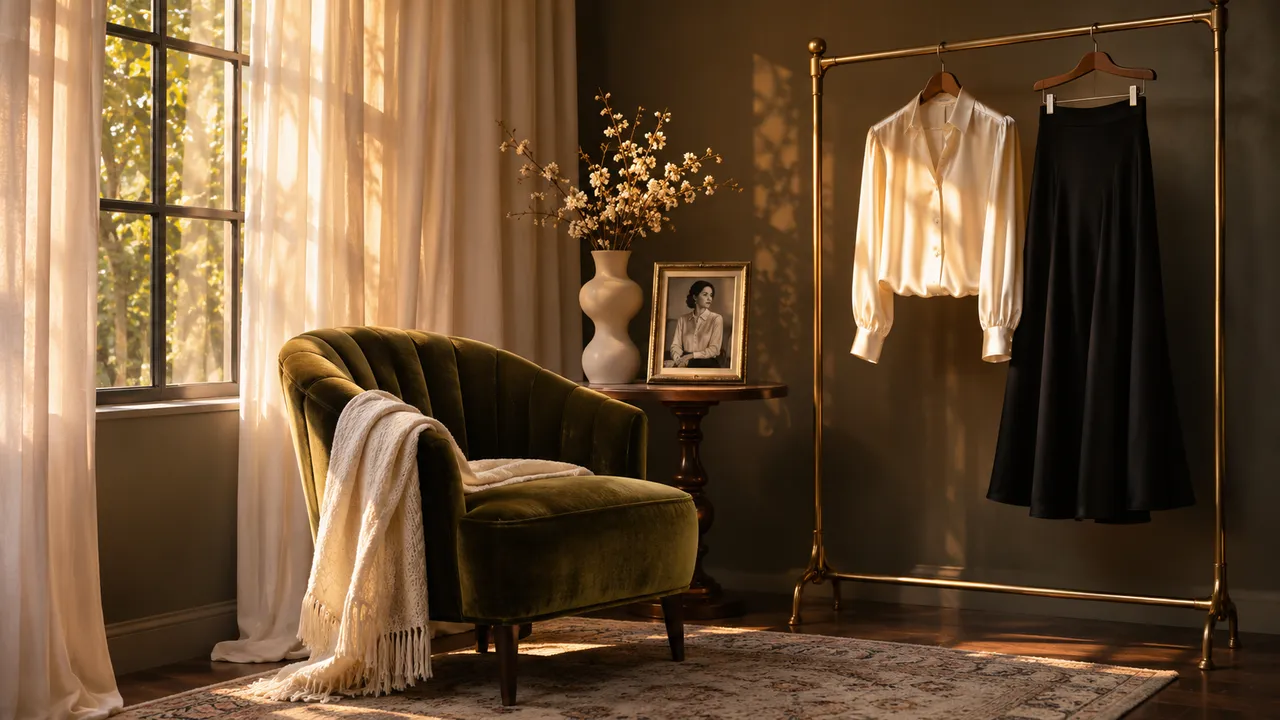
Classy boudoir photos: choose coverage, styling and a simple setting
Plan a restrained boudoir-inspired portrait with clear clothing coverage, simple styling, and a practical check for the generated result.
At a glance
- Define what classy means for your own portrait rather than judging bodies or styles.
- Specify opacity, neckline, sleeves, and length before generating.
- Review the output against the coverage and composition you requested.
If "classy boudoir photos" means intimate, composed, and comfortably covered to you, describe those choices directly. Use an opaque outfit, a neckline and hemline you have chosen, a simple setting, and a pose that keeps the focus on the person.
"Classy" is a subjective style label. It does not belong to one body type, age, or amount of coverage. For an AI portrait, a concrete description helps you judge whether the result matches your preference without relying on the model's interpretation of that word.
Write your coverage boundaries first
Before choosing a room or lighting effect, make a short wardrobe note. Include whether the fabric is opaque, which parts of the body the clothing covers, and which details should stay unchanged across the set.
For example: "Opaque ivory midi dress, long sleeves, fixed modest neckline, no change in garment length." This is a planning statement, not a guarantee of output. You still need to inspect each result.
If you have not chosen a broader direction, read AI boudoir expectations first. The concept guide can then help you decide whether you want a soft room, evening styling, or a minimal portrait study.
Choose one of three clear outfit plans
These are non-explicit concept examples to adapt to currently available outfits. Read the actual garment description rather than assuming the concept name appears as a preset.
| Outfit plan | Coverage to specify | Useful first frame |
|---|---|---|
| Long-sleeved dress | Opaque fabric, chosen neckline, sleeves to the wrist, midi length | Seated three-quarter portrait showing the garment's shape |
| Shirt and trousers | Opaque shirt buttoned to the chosen point, full-length trousers | Waist-up portrait with a simple seated posture |
| Wide-strap evening dress | Opaque fabric, fixed straight neckline, defined strap width and midi hem | Standing three-quarter frame with arms relaxed |
Choose the option that feels like something you want to see yourself wearing. You do not need to make the outfit more revealing to make the picture feel personal. Expression and camera distance can carry that mood.
The outfit planning guide explains how fabric, fastenings, and accessories affect a multi-photo plan. If one distinctive detail matters, such as a waist tie or sleeve shape, make it part of your review checklist.
Give the background a small role
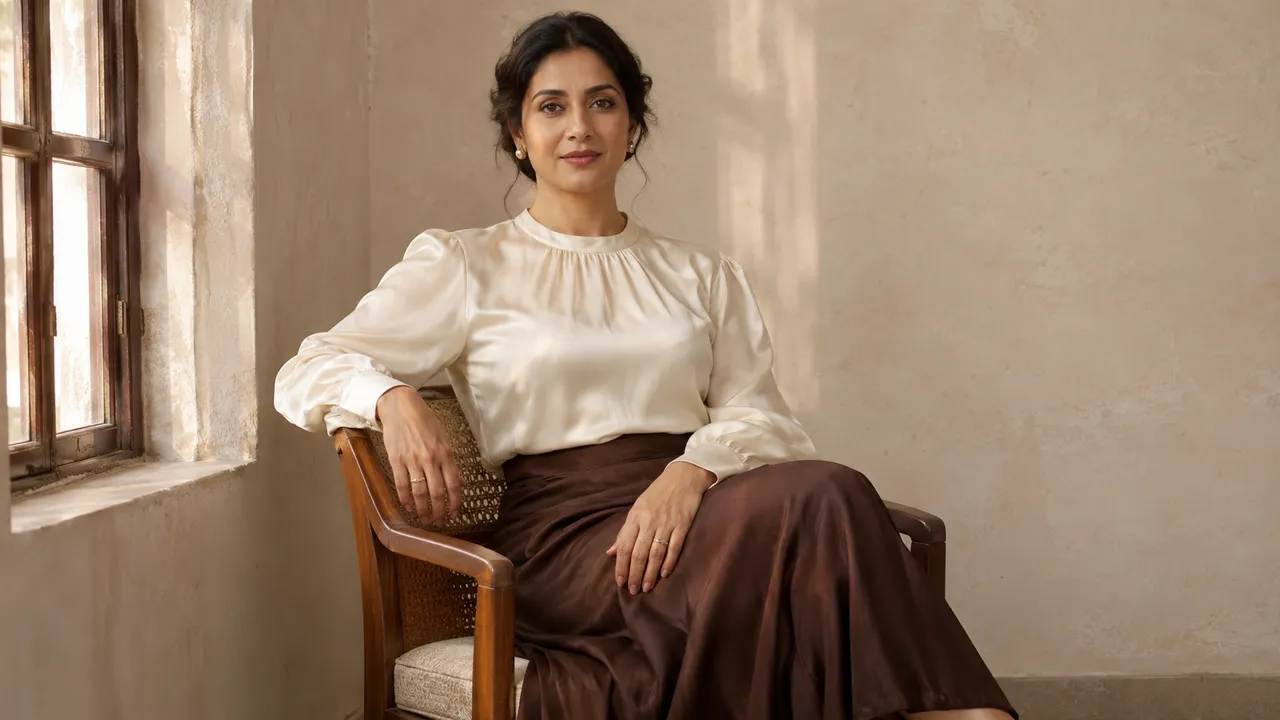
Pick a setting with a clear purpose. A chair near a window suggests a quiet moment; a plain wall keeps attention on the face and garment. One piece of furniture may be enough to support the pose.
Look for objects that compete with the portrait. Busy patterns, numerous mirrors, and crowded tables create more details to inspect. You can simplify the plan before generation rather than hoping the final crop will remove the distraction.
Do not use shadow or cropping as a way to ignore clothing boundaries. Choose the coverage in the outfit itself. The frame should support the composition you want, and the generated result should still respect that clothing choice.
Keep the face readable
For a soft portrait, describe gentle light with visible facial features and ordinary skin texture. For an evening mood, allow shadow while keeping enough detail to assess likeness. A dark image can look dramatic at thumbnail size and still fail when you examine the face.
The boudoir lighting guide helps you choose between window light, soft studio light, and a moodier setup. Begin with one lighting idea. Adding many conflicting instructions makes it harder to know which look you asked for.
Use framing to create variety
Start with a waist-up portrait where the face is easy to judge. Add a three-quarter frame to show more of the outfit and a wider seated view if the room matters to the concept. Keep the garment and intended expression consistent enough for the photos to feel related.
A simple pose is a sensible starting point: relaxed shoulders, supported sitting, and hands resting separately. Choose a different frame for the next photo instead of adding several complicated gestures. The beginner pose guide has more ways to plan that variation.
Review the picture against your own brief
Before keeping an image, check the face, garment opacity, neckline, hemline, and the places where fabric meets skin. Then inspect hands and background objects. If the image changes your boundaries, reject it and revise the request rather than accepting it because the lighting is attractive.
For a new take, identify the single most important correction. "Keep the opaque dress and restore the selected neckline" is clearer than adding more praise words to the prompt. AIGirlShot's new takes are separately quoted, so review the price before requesting one.
Once the outfit and setting are settled, build a six-photo plan with a few deliberate framing changes. Keep the written coverage note beside the plan and use it again during selection.
Cover: AI-generated editorial illustration, not an AIGirlShot result.
Written by
AIGirlShot Team
Portrait planning and practical guides from the AIGirlShot team.
Related posts